ExactScan Online Help - the Missing Manual
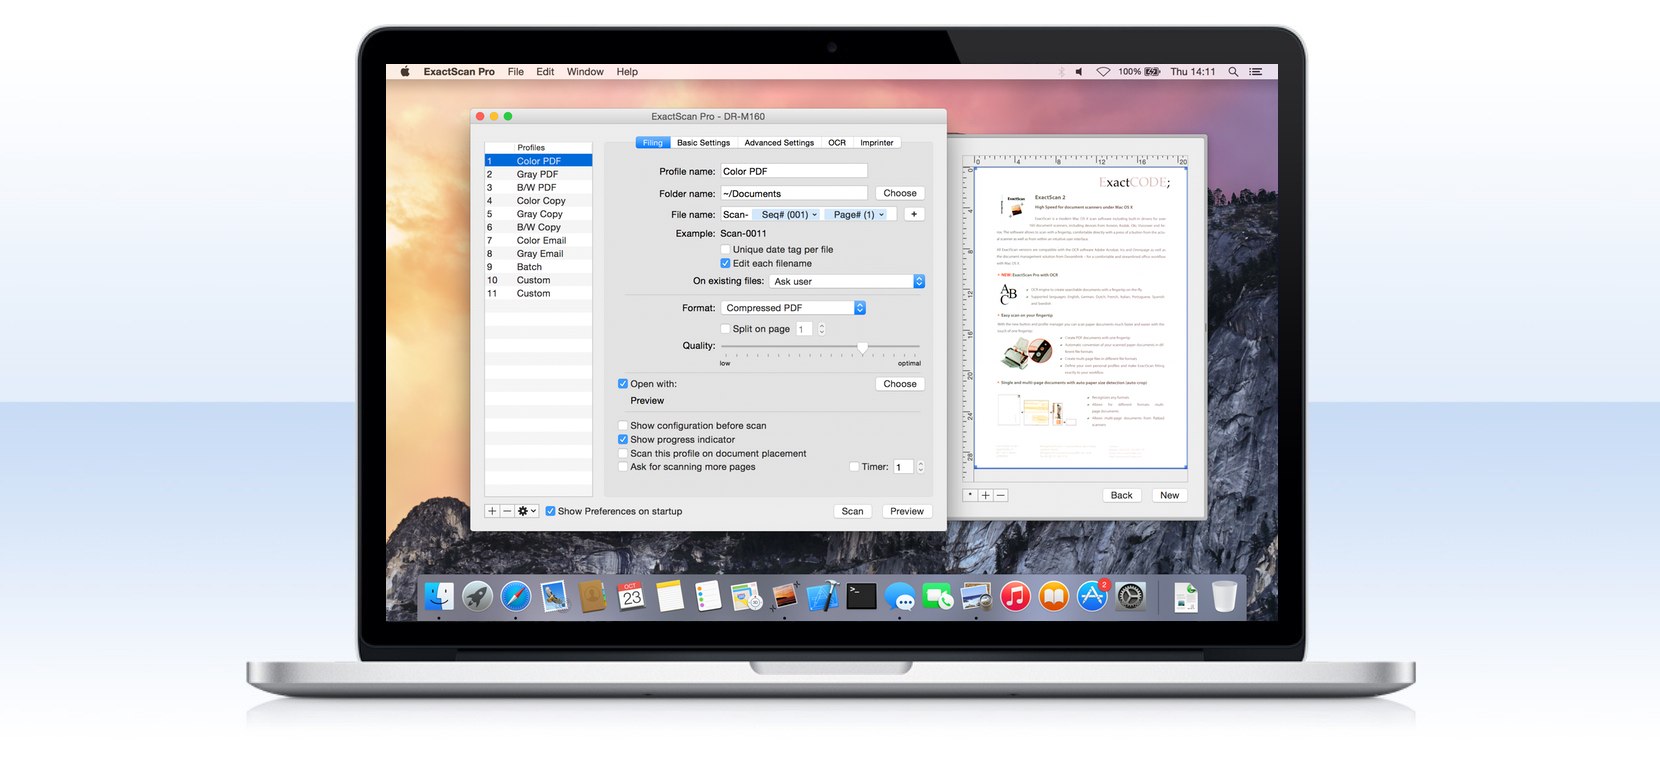
ExactScan's main user-interface are the scan settings in the New Scan Preference window. The settings are logically grouped into sections by tabs: Filing, Basic, Advanced, and in the Pro version: OCR and Imprinter:
On the left side of the Preferences you find a profile table which allows you to store multiple scan settings for different workflows or document types.
The right side of the window contains all the available scan settings which are saved for each profile. The settings a grouped into tabs by category: Filing, Basic Settings, Advanced Settings, and in the Pro version: OCR and Imprinter.
The Preview button shows a Preview window - if free screen space allows usually on the right side of the Preferences. ExactScan visualizes most color settings in the Preview window live in real time. This also helps to get started and allows to get a good understanding how the individual and advanced color settings affect the output for optimal results.
Depending on your version of ExactScan (lite, regular, Pro…) you may not see all of the setting tab and depending on your operating system and version the UI will look slightly different from the screenshot examples.
We also have a short video introuction to get a first overview and see the scanning workflow in action.
If your question is not answered by this help overview, please do not hesitate to contact our support: support@exactcode.com
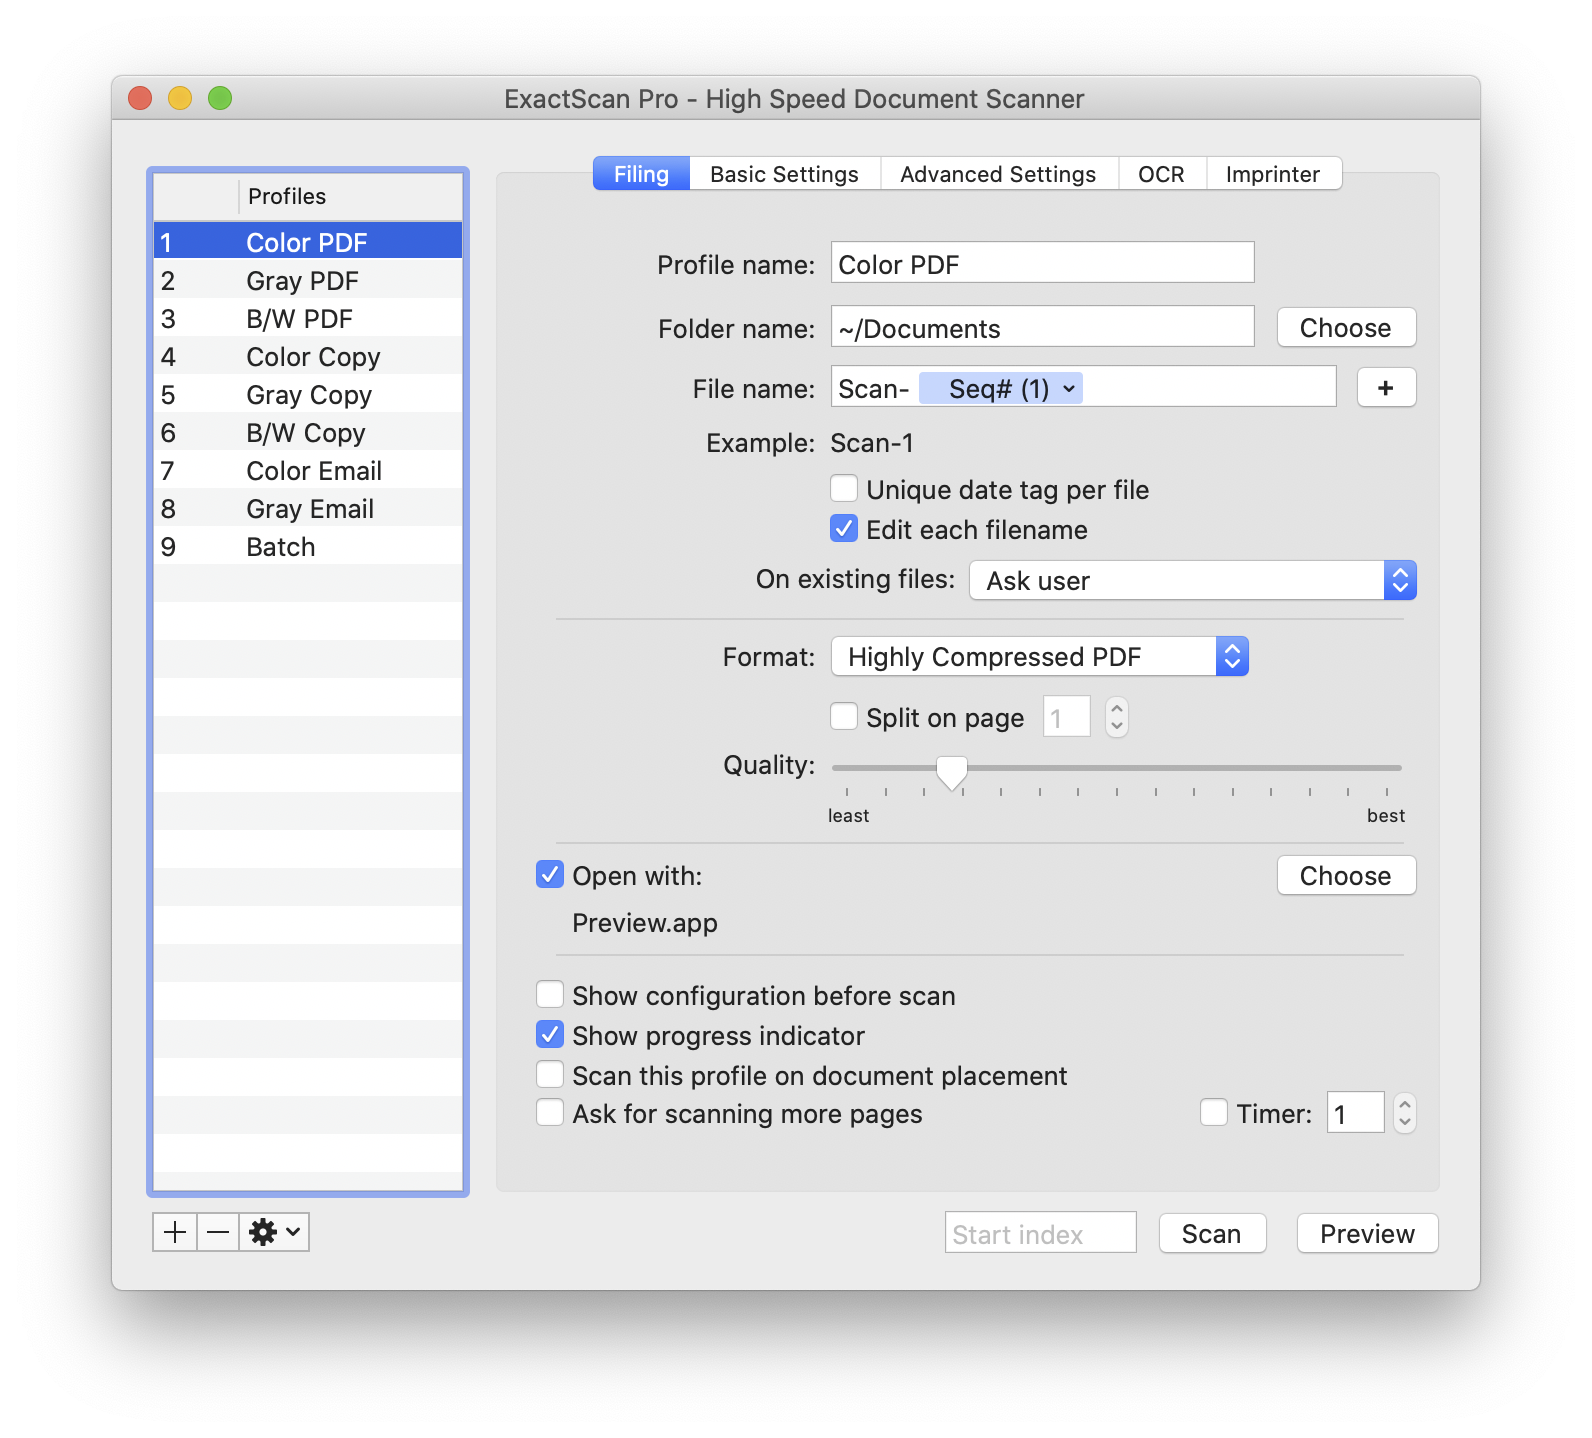
Filing
The default profiles contain example presettings to help getting started with ExactScan easily and fast. However, all profiles can also be customized individually to fit your needs and workflow. It is easy to modify an existing profile or to create or delete a profile with the plus and minus button below the table. The gears button next to them allows to reset, import or export profiles.
Especially users who use ExactScan's built-in driver for their scanner (e.g. Avision, Canon, Fujitsu, Kodak, OKI, Panasonic, Visioneer and Xerox) have button support which allows to scan and control the profiles directly from the scanner.
Some examples of use:
- Create PDF documents with one fingertip
- Automatic conversion of your scanned paper documents in different file formats
- Create multi-page files in different file formats
Profile name: Can be named individual.
Folder name: The path to the document store, which can also be on the network or USB drive.
File name: The file name and automatic naming tokens, such as: sequence number, page number, date or barcode. The page and sheet token numbers exactly match the scanned page's, while the sequence number may be automatically incremented until the next free filename is found.
It is possible to use even and odd number sequences to separately scan front and back sides on simplex scanners.
Unique date tag per file: Instead of using one date and time for the entire batch, this option resets the scan date and time for each new file created in a batch.
Edit each filename: Always asks the user to confirm the file name.
On existing files:
- Ask user: Asks user how to process with the file name.
- Increase sequence number: Adds a sequence number to the existing file name.
- Silently overwrite: Silently overwrites the file name.
File formats: PDF, Compressed PDF, JPEG, JPEG2000, (multi-page) TIFF, PNG, Microsoft BMP and PNM. One file per page: Creates for each page a new file. Quality slider: Allows to specify the quality of some formats.
After a scan, the new document gets opened by the defined application.
Show configuration before scan: This option is only available for scanners supported by the ExactScan built-in driver. By touching the button on the scanners the ExactScan New Scan window pops up.
Show progress indicator: Shows current status of the scan progress and processing.
Scan this profile on document placement: Support only for ADF scanners. Begins to scan when paper got recognized in the ADF slot and processes as defined in this profile. This option can only be enabled for one profile.
Ask for scanning more pages: Allows multi-page documents with a flatbed scanner.
Basic Settings
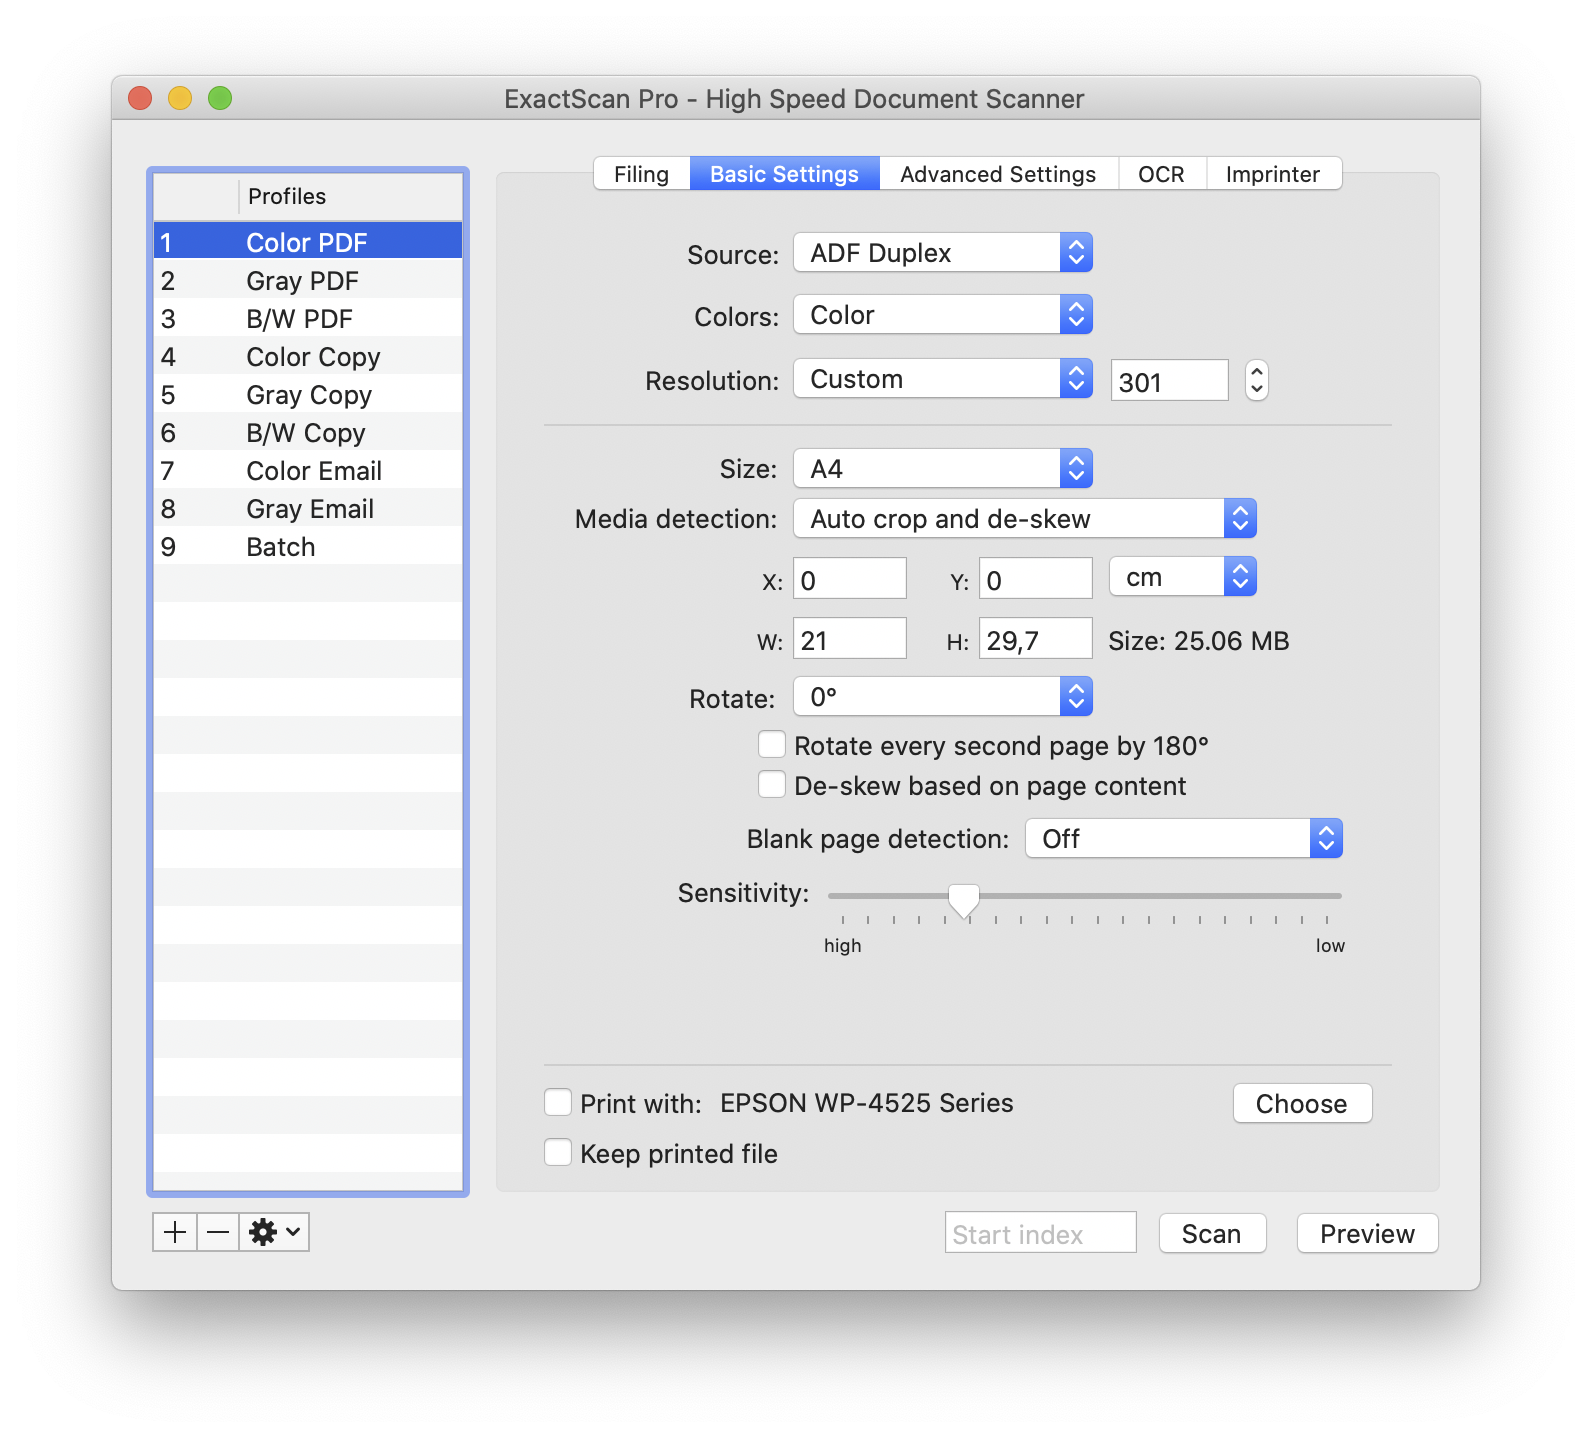
Source: Selects the scanner's input source: ADF, Flatbed, …
Colors: Selects the color mode used for the scan: Color, Gray, Dithered, …
Resolution: Selects the scan resolution for the scan in pixels per inch (ppi, dpi). Typical are 300 or 200 dpi for office paper scans. Higher resolutions are usually only needed for graphic artwork and photographs.
Specifically developed for high-speed ADF scans, ExactScan recognizes automatically size of the paper and angels.
Allows to chose the size of paper and is mainly used for flatbed scans or when the "Auto crop and de-skew" option is disabled.
The document can be rotated by 4 different angels. Additionally and especially for flatbed and book scanners is the option "Rotate every second page by 180°" which allows to scan books simply.
Off: The document will be not modified.
Delete Blank Page: Blank pages or almost blank pages, depending on the Sensitivity slider value, will be detected and removed from the document.
Placeholder: For every detected blank page, a placeholder page will be insert. This consumes nearly no space and helps to keep the sequence when printing with a duplex printer.
Split Document: Allows to scan several documents in one bunch. There is only a blank page in between needed to tell ExactScan a new document begins.
With the Print option your Computer can be used as a digital copier. It only has to be chosen the printer and each scan will be directed to the printer.
Advanced Settings
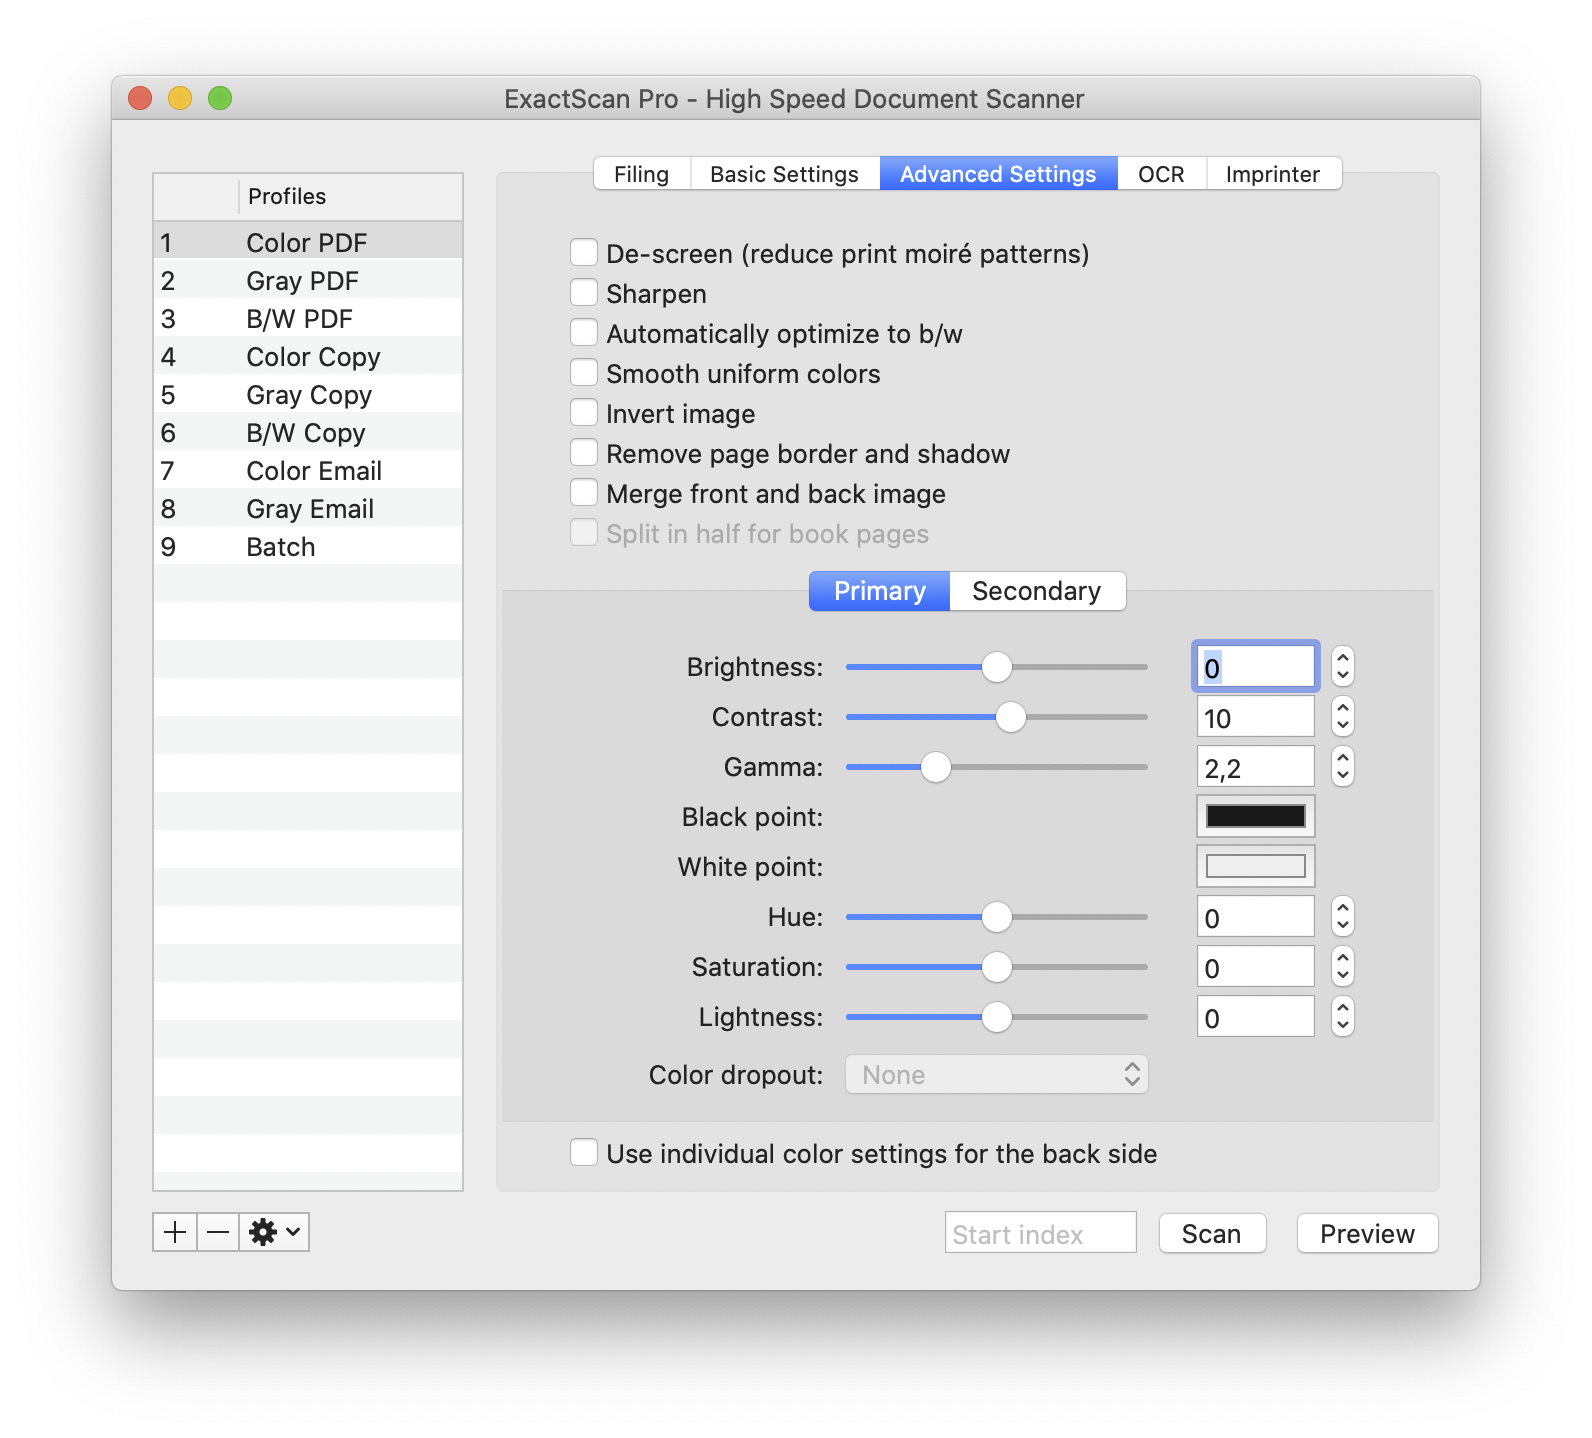
De-screen: Reduces print moiré patterns e.g. from magazines.
Sharpen: Sharpens the scanned image.
Automatically optimize to b/w: Optimizes the contours for a better readability and to save storage space.
Invert image: Inverts the scanned image.
Brightness, Contrast, Gamma: Can easily be changed by the slider and will be shown in real time in the preview window.
If the black or white color of the scan result isn't satisfying it can be tuned with the black or white point correction.
The easiest way to adjust and fine-tune the colors is to perform a preview scan of the document and then to zoom in. With a click on the black or white point field opens a new window. By taking the magnifying glass to the preview window, the black or white color parts can be aimed and taken over as the new black or white point.
The Hue, Saturation and Lightness color transforms can also easily adjusted by the slider and will be shown in real time in the preview window.
OCR
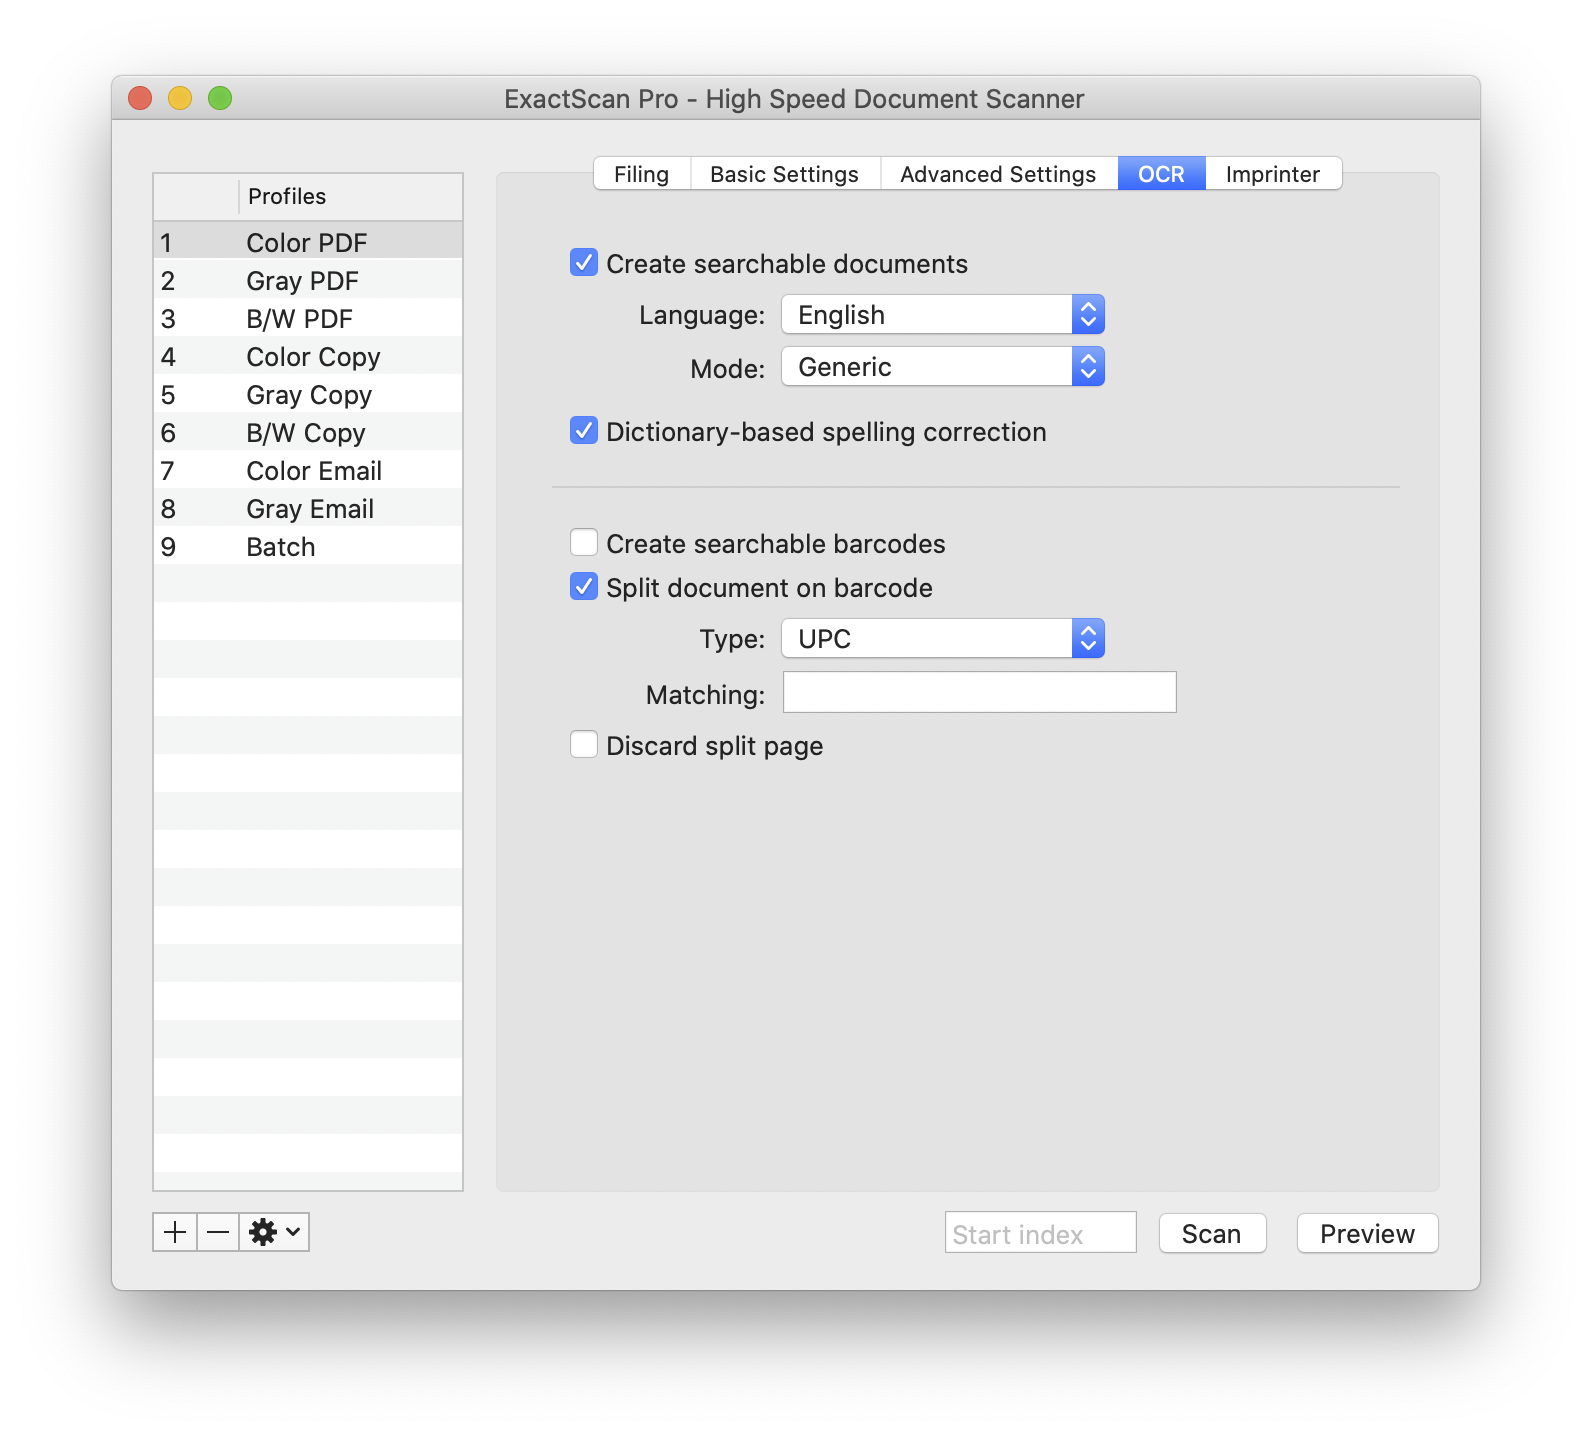
Create searchable documents in over 20 languages, including: Bulgarian, Croatian, Czech, Danish, Dutch, English, Estonian, Finnish, French, German, Hungarian, Italian, Latvian, Lithuanian, Polish, Portuguese, Rumanian, Russian, Serbian, Slovenian, Spanish, Swedish, Turkish, Ukrainian, and Norwegian.
This option embeds barcodes into the PDF document as searchable text which can be found with e.g. Spotlight or other searching applications.
Split document on barcode, allows to split a larger batch of sheets into several smaller files using barcode separation sheets. You can use barcodes already printed onto your documents, print your own sheets and select the matching barcode type, or use simply print our example sheet.
Imprinter
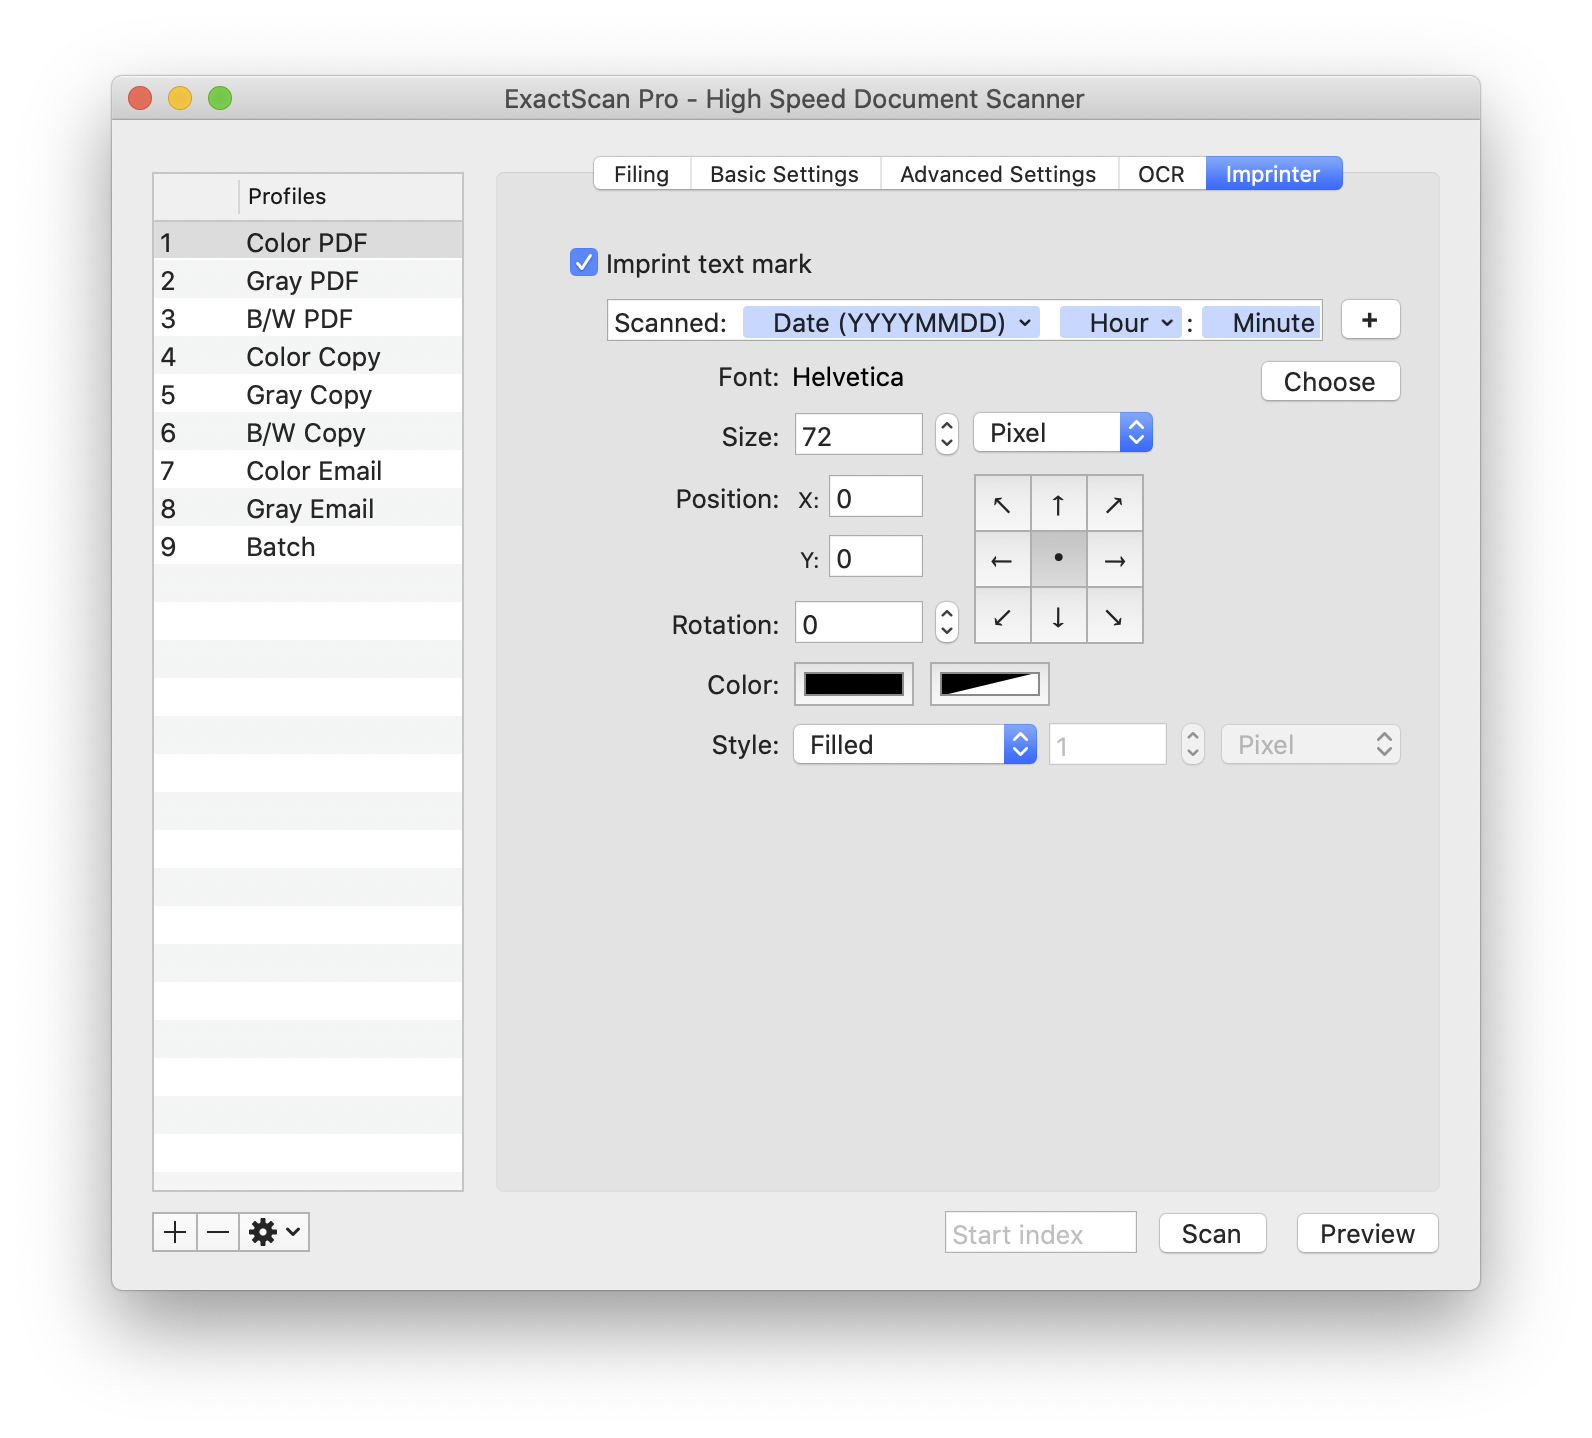
The digital image imprinter can be used to add watermark information to the scanned image.
Most often this is used to print a mark like "CONFIDENTIAL", "PRELIMINARY" or simply "COPY" over the whole page, or a small line with the scanned date and time on one of the borders of the page.
AppleScript
You can also script ExactScan to integrate it into your specific workflow. For example many users script ExactScan to directly store the scan into a database, or cloud:
tell application "ExactScan Pro"
    -- define a profile
    set profile to 1 -- profile, usually maps to scanner buttons
    set profile name to "Invoices"
    set resolution to 240
    set AppName to path to application "Preview" -- target application to notify
    set destination app to POSIX path of AppName

    set document type to "Color" -- Gray, Lineart, Dithered, …
    set tmpFolder to path to temporary items folder from user domain
    set destination folder to POSIX path of tmpFolder
    set destination file to "Invoice-1234"

    show window -- show the main window on screen
    scan -- start the scan
end tell